51445 Corridor Dr, Shelby Twp, MI 48315
DIY Car Polishing: A Beginner's Guide to Perfect Paint Correction
BOOK NOWDIY Car Polishing: A Beginner's Guide to Perfect Paint Correction
Polishing a car can seem daunting, especially when you're faced with the idea of removing swirls, scratches, and dull paint. However, with the right tools and techniques, achieving a professional-like finish right at home is entirely achievable. Whether you're preparing for a ceramic coat or simply looking to enhance your vehicle's appearance, this comprehensive guide will help you master the art of car polishing.
Understanding Paint Correction
Before diving in, it’s essential to understand what paint correction involves. This process refers to removing imperfections from your vehicle's paint surface. These imperfections can include swirl marks, fine scratches, oxidation, and even holograms left by improper polishing techniques. Understanding these problems—and recognizing how they affect your vehicle’s aesthetics—will motivate you to improve your car's finish.
Mastering paint correction not only enhances your car’s appearance but also increases its resale value. A well-maintained, visually appealing vehicle can make a significant difference when it comes time to sell or trade it in.
Essential Tools for Car Polishing
To embark on your paint correction journey, gather these essential auto detailing tools:
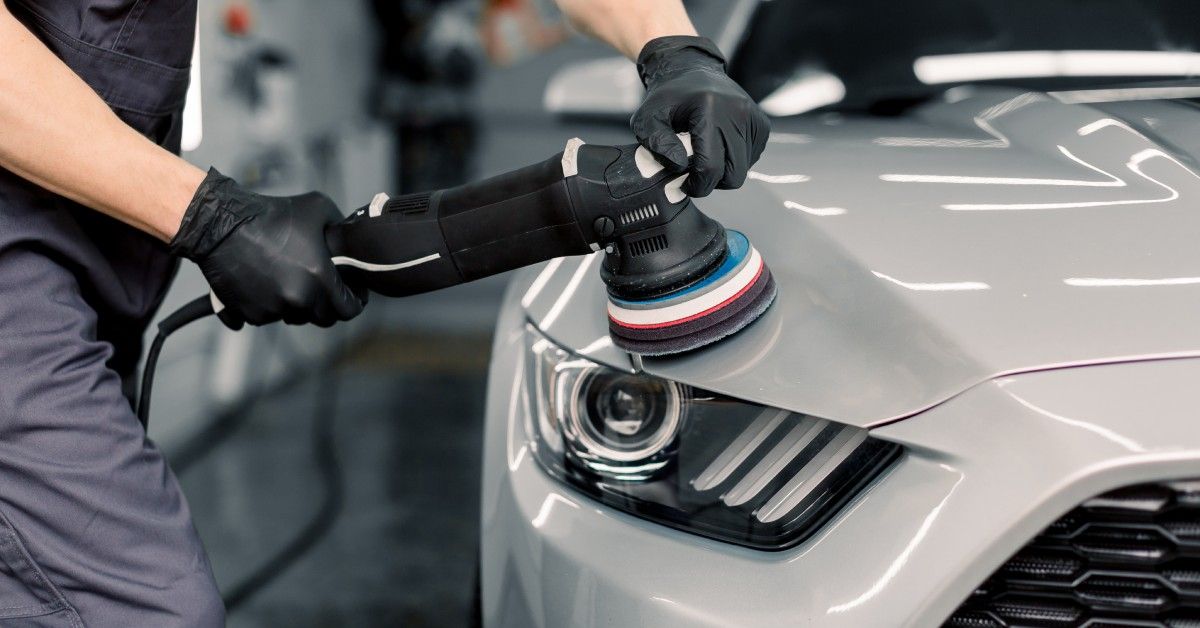
- Dual-Action Polisher: This versatile tool is highly recommended for beginners because it minimizes the risk of damaging your car's paint while providing effective correction. It combines rotary and orbital motion, creating a safer polishing experience.
- Polishing Pads: Various pads are available for different stages of paint correction. Use cutting pads for deeper scratches and finishing pads to achieve a glossy finish. Ensure you select pads suitable for your dual-action polisher.
- Polish and Compound: Choose high-quality products designed for your specific needs. A cutting compound is great for deeper scratches and defects, while finer polishes work for light correction and enhancing gloss.
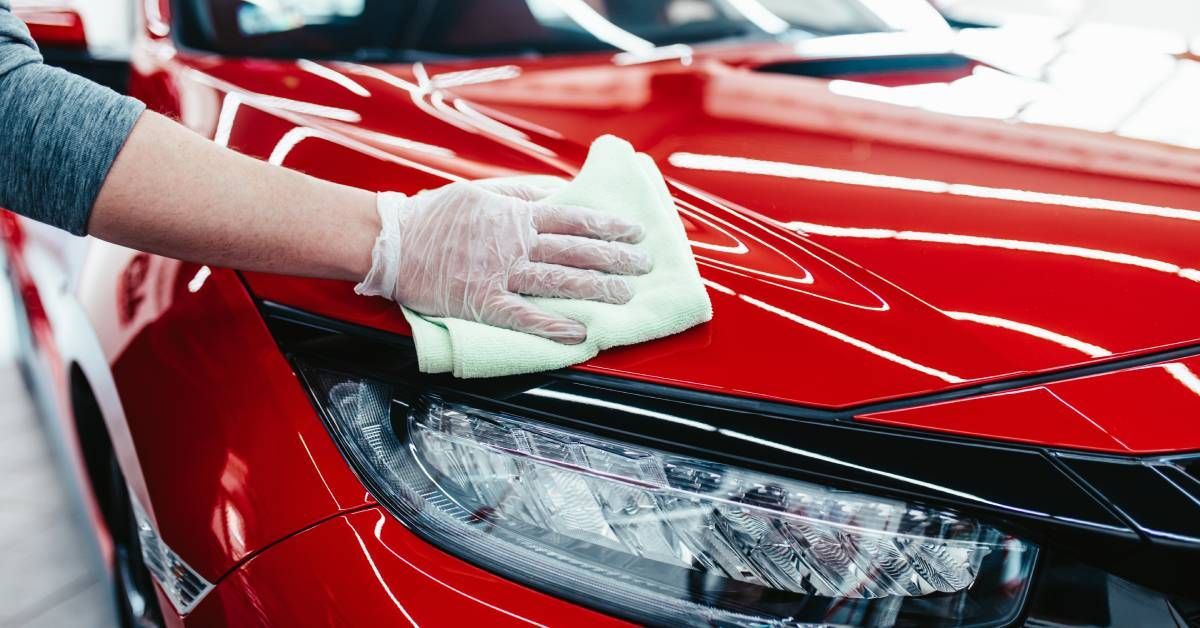
- Microfiber Towels: Essential for wiping off residue and completing the finishing touches. Opt for high-quality, plush towels to avoid adding new scratches.
- Masking Tape: Protects plastic trim and rubber edges around the vehicle. This will help avoid accidental polishing of areas you want to keep intact.
Preparing Your Car for Polishing
Preparation is crucial to ensuring a successful paint correction job. Here's how to get your vehicle ready:
Step 1: Wash the Vehicle
Start with a thorough wash using car soap to remove dirt, dust, and debris. Ensure you rinse well to avoid leaving soap residue behind. After washing, dry the car completely with a microfiber towel to prevent water spots. To further protect your paint during the washing process, consider using the two-bucket method—this includes one bucket for washing and another for rinsing your wash mitt.
Step 2: Inspect the Paint
Look closely at your car's paint under bright lighting to identify any swirls, scratches, and other imperfections. This inspection will help determine what level of correction is required and which products to use. Using a bright light or detailing flashlight can help spot imperfections more easily, making it easier for you to pinpoint exactly where corrections are needed.
Step 3: Clay Bar Treatment
Consider using a clay bar after washing your car. This step is crucial as it removes contaminants that washing might not eliminate, such as tree sap, industrial fallout, and surface-bound dust. Following the clay bar kit's instructions will yield the best results, ensuring a smooth surface for polishing.
Step-by-Step Polishing Process
Once your vehicle is prepared, you can begin polishing by following these detailed steps:
Step 1: Mask Off Areas
Use masking tape to cover any areas you want to protect, such as plastic trims, rubber seals, and around badges. This is essential for avoiding accidental damage during the polishing process.
Step 2: Apply Compound
Using your dual-action polisher, apply a small amount of cutting compound to your polishing pad. Start with a small area, approximately 2x2 feet, and work in overlapping passes. Begin at a low-speed setting to evenly spread the compound before gradually increasing speed to achieve effective correction. Using a crosshatch pattern (up and down, then side to side) can help ensure complete coverage.
Step 3: Polish the Car
After correcting the main scratches and swirls with the cutting compound, switch to a finishing pad and a finer polish. This step enhances gloss and provides a smooth finish, which is what you want after the correction process. Again, work in small sections, maintaining even pressure to avoid creating new scratches. Remember to periodically clean your pad to ensure its effectiveness throughout the process.
Step 4: Wipe Off Residue
Once you’ve finished polishing each section, use a clean microfiber towel to wipe away any residue. This will reveal the true clarity and depth of the paint underneath.
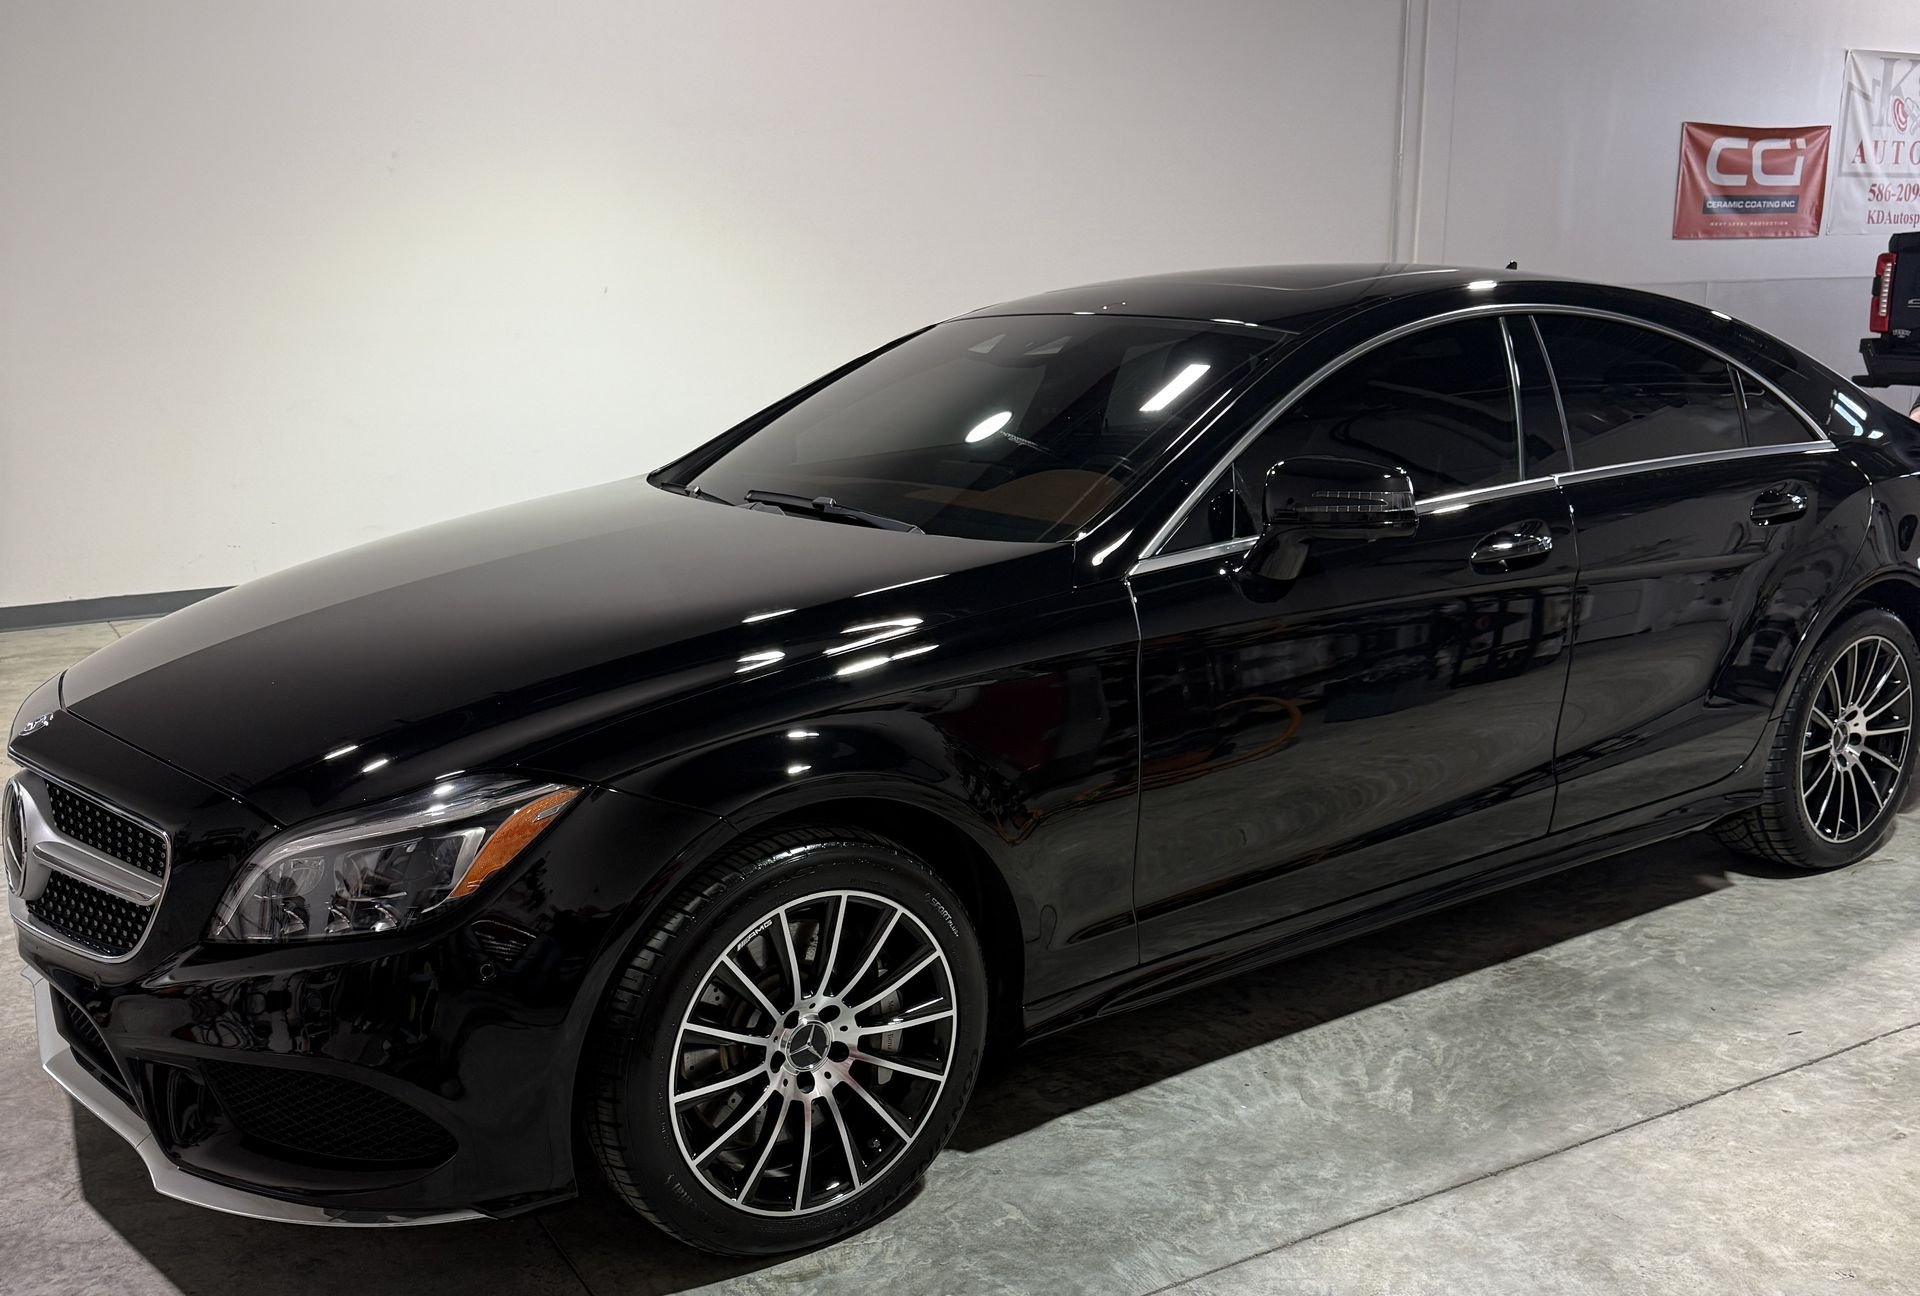
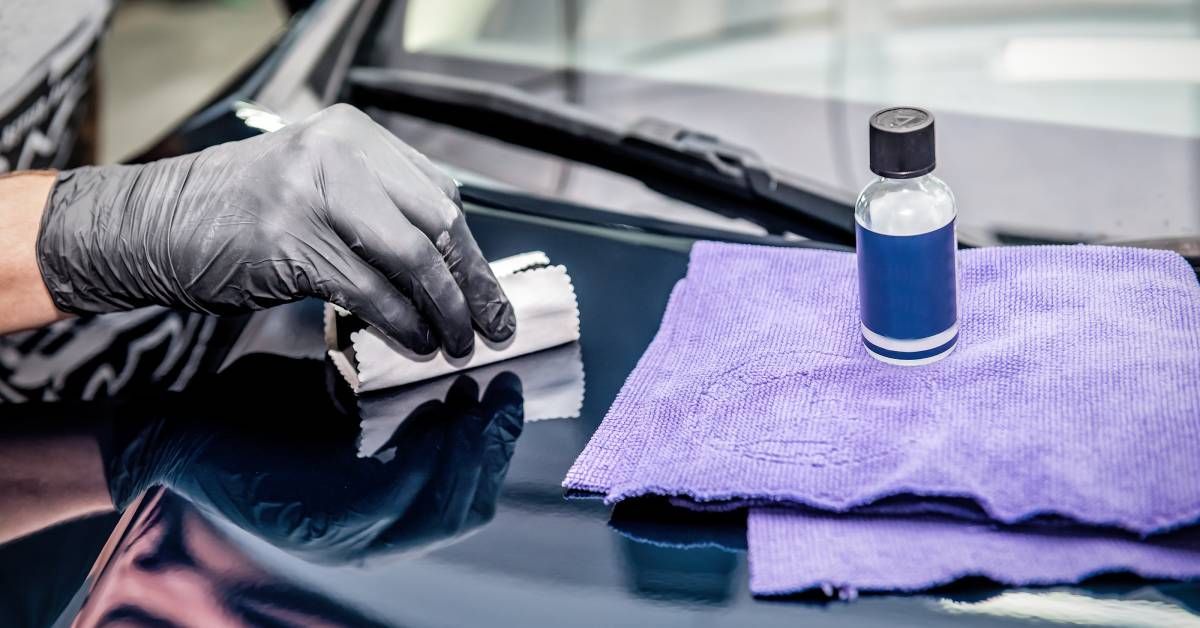
Applying the Ceramic Coat
After completing the paint correction process, it's time to protect that beautifully polished surface with a ceramic coat. This not only enhances the shine but also provides long-lasting protection against scratches, UV rays, and chemical stains.
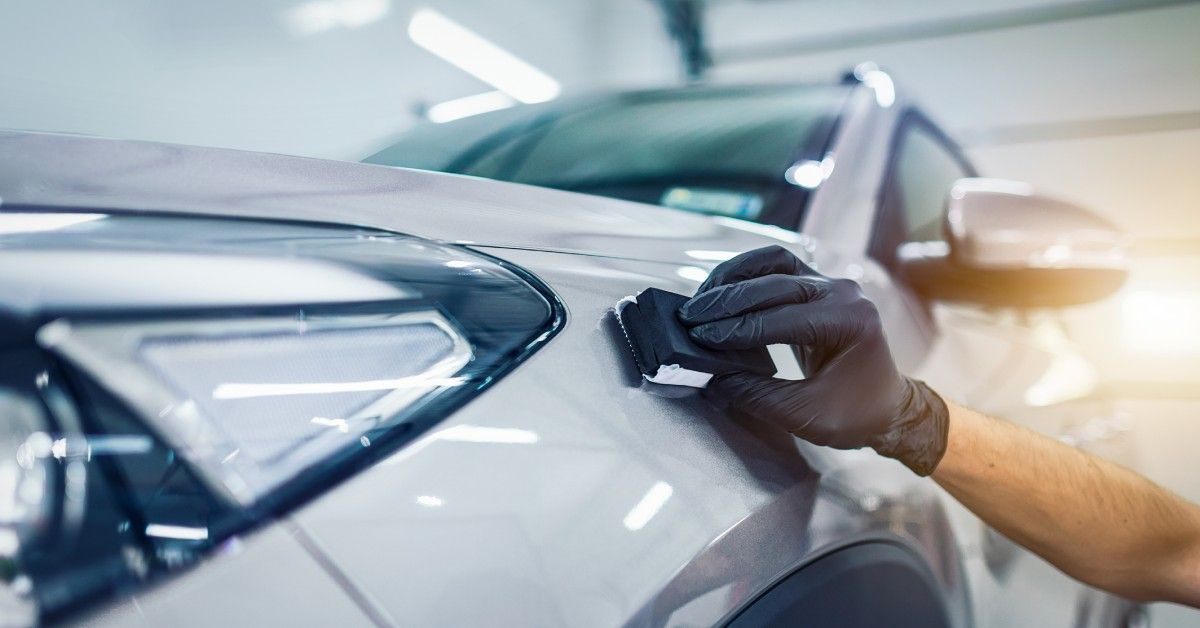
- Clean the Surface Again: Ensure the polished surface is completely free of oils and residues. A dedicated surface prep spray is ideal at this stage, helping to achieve a perfectly clean surface for the ceramic coating.
- Apply the Ceramic Coat: Follow the instructions provided with your ceramic coating product. Generally, you'll apply it in small sections, spreading it evenly with an applicator pad. Allow the product to sit for the recommended time before buffing it off to achieve the best results.
- Cure Properly: Allow adequate time for the ceramic coat to cure according to the product’s guidelines. Proper curing ensures maximum durability and protection. During this time, avoid exposing the car to water or heavy dust.
Final Thoughts
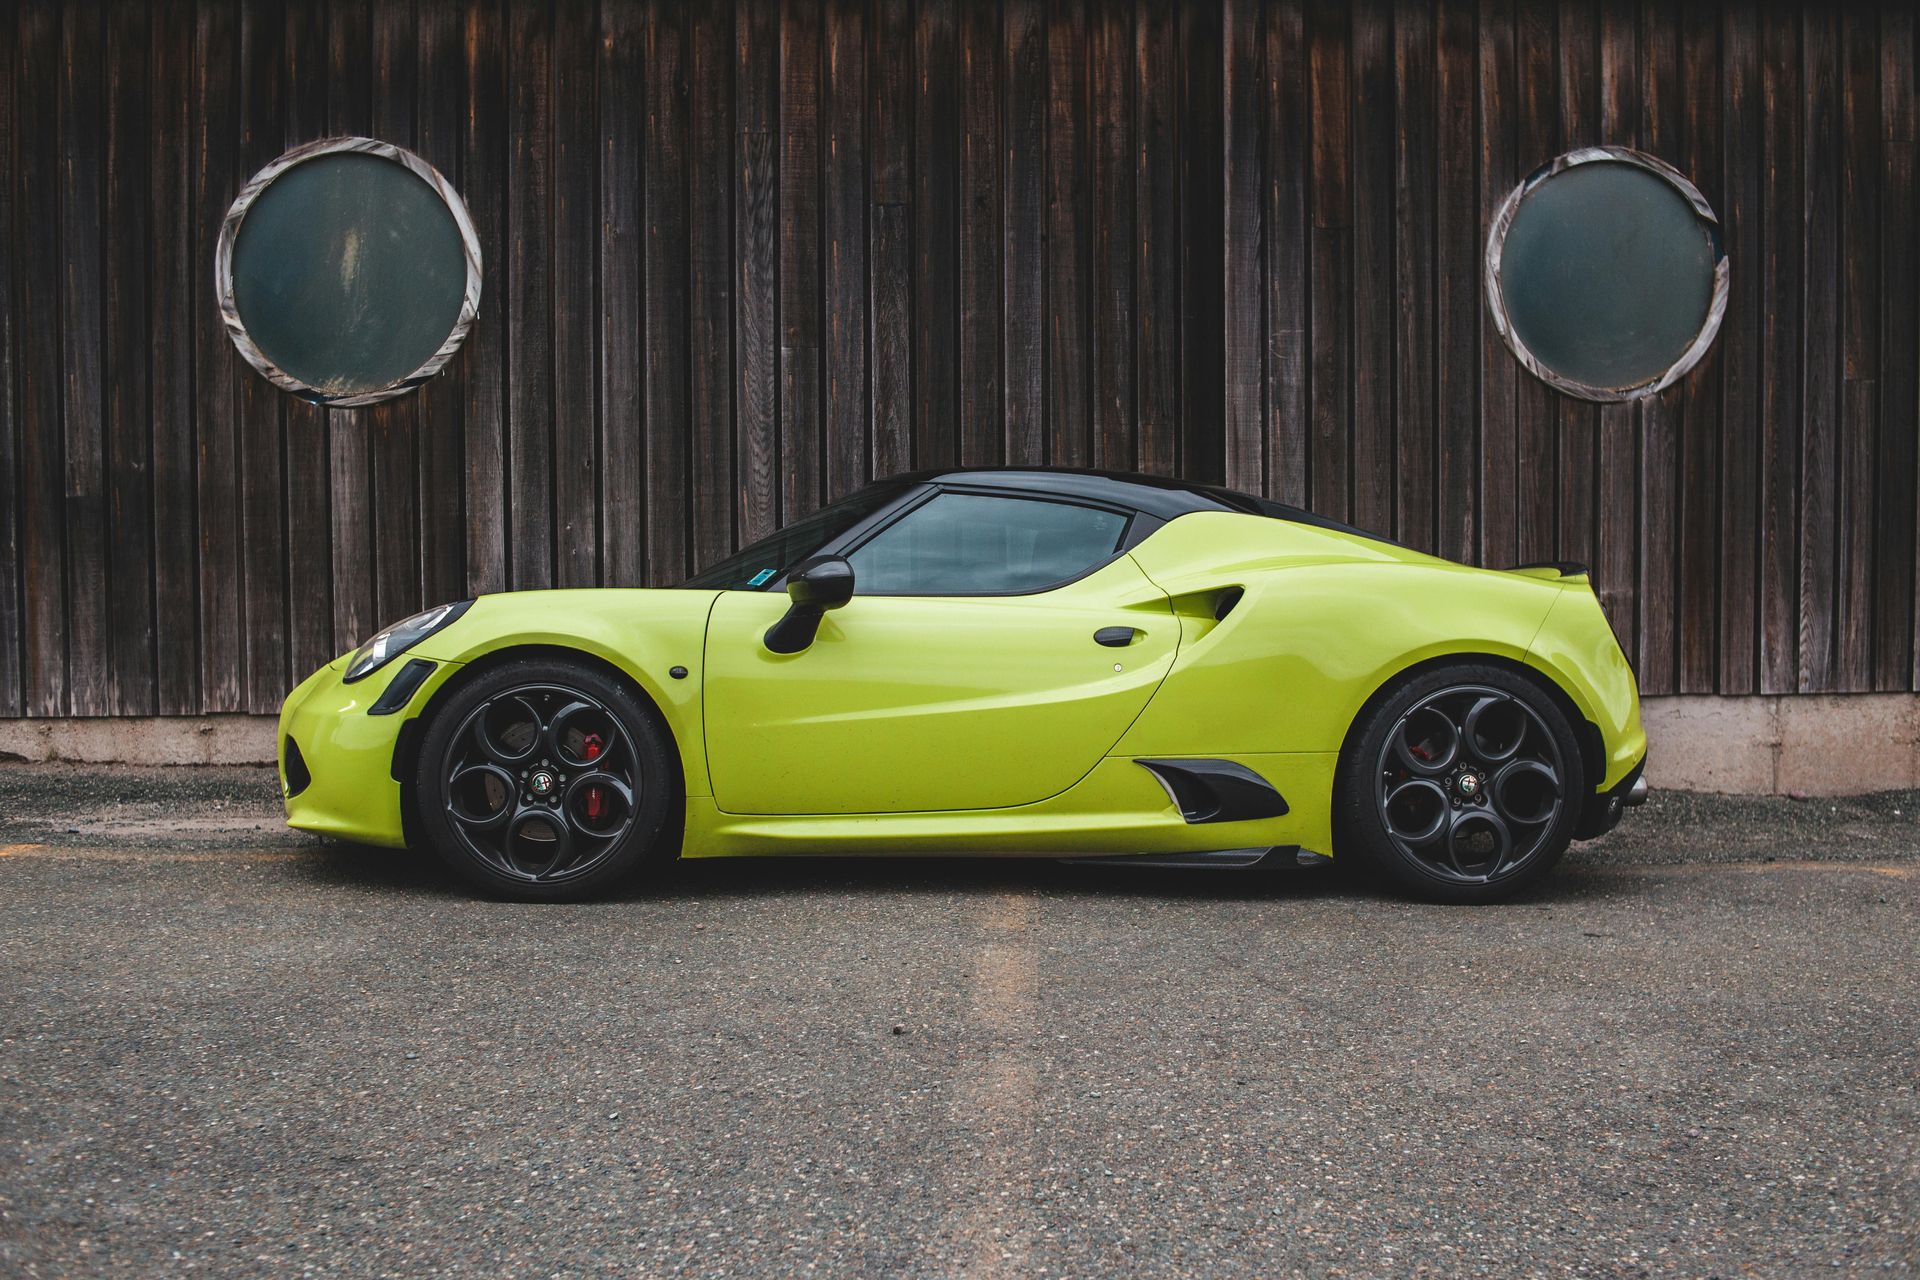
Polishing your car at home can be an incredibly rewarding experience that significantly enhances its aesthetic appeal through effective paint correction. By investing time in this process and utilizing the right materials, you can successfully remove swirls and scratches, bringing out the best in your vehicle’s finish.
With your car looking stunning and a ceramic coat applied, you’ll enjoy not only the visual rewards but also the long-term protection that keeps your investment looking great for years to come.
If you find this task overwhelming or prefer professional assistance, don’t hesitate to reach out to us at K&D Auto Spa. We specialize in all aspects of auto detailing, from paint correction to ceramic coatings, ensuring your vehicle receives the care it deserves.
For expert advice, services, or to schedule an appointment, contact us today:
📞
Phone: 586-209-4404
🌐
Website:
www.kdautospa.com
??
Location: Shelby Township, MI
Gather your supplies, follow the steps outlined above, and enjoy the impressive results of your hard work—or let our experts handle it for you!


Founded in 2022, K&D Auto Spa is always working to provide the perfect auto detailing experience to all cars, trucks, and SUVs driven in the Shelby Township, Michigan area. Covering the needs drivers have for their rides in both Macomb and Oakland Counties, we step out from the rest of the automotive detailing facilities by making the promise that our vehicle detailers will treat what you drive with dignity and respect. Contamination or surface defects that plague your automobile will be gone with our professional car care services, thereafter protected by the hydrophobic security of ceramic coatings. K&D Auto Spa touches on all aspects of proper vehicle maintenance and improvement!
Quick links
Our Location
51445 Corridor Dr, Shelby Twp, MI 48315
Hours Of operation
Monday - Sunday: By Appointment Only
Designed by the team at Detailers Roadmap, a platform developed for detailing operators across the globe.